Tuesday, July 31, 2012

Today

Today was pretty special, I took (along with another teacher) 53 great kids to Sydney Biennale. It was the first excursion I've organised, and none of the kids had been to the Biennale before so it was pretty special. We left school at 7am to catch the first ferry at 10am over to Cockatoo Island were we were all blown away by the amazing artworks. some of the highlights just to name a few include...(I apologise for the poor quality of the pics... all taken on my iphone)

Tiffany Singh
Knock On The Sky Listen To The Sound, 2011
bamboo wind chimes and mixed media

These wind chimes were located in an outdoor room with a half size door that you had to duck to get into. We nearly walked straight past but were fascinated by the sound that was coming from inside.
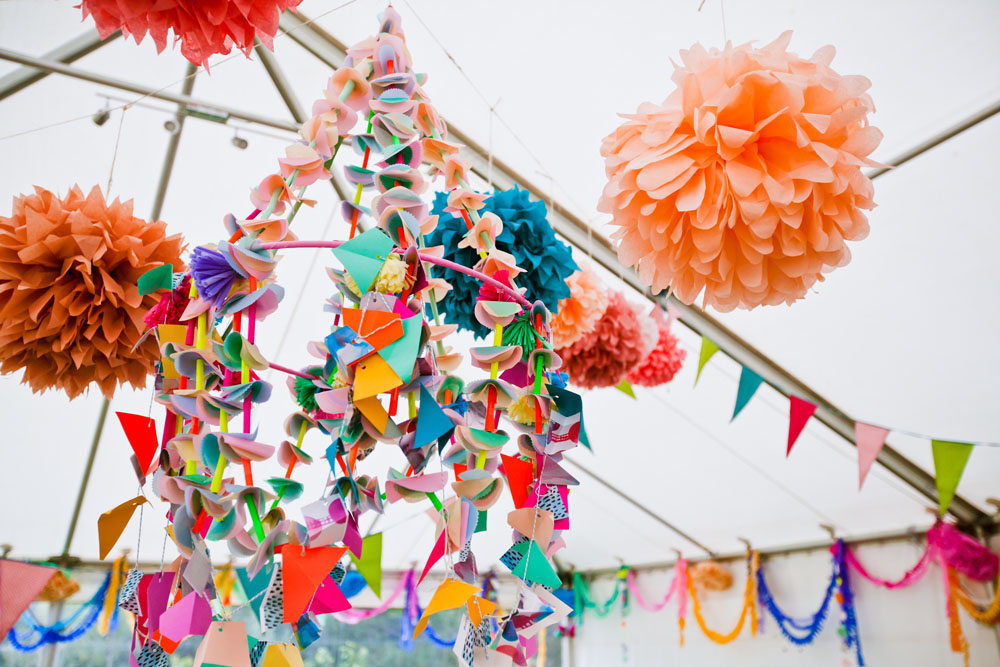
Li Hongbo
Ocean of Flowers, 2012
paper

These paper sculptures were one of my favourites the whole day they were beautiful! so so many in the one room. All the kids commented on these when I asked them what they enjoyed the most. little did we know that when they are folded up, they fold into the shapes of guns and bullets. Here is a closer image


Adam Cvijanovic The River, 2012
Flashe on tyvek, dimensions variable

A very large scale painting on not your typical canvas....

Philip Beesley
Hylozoic Series: Sibyl, 2012
laser-cut acrylic, Mylar, aluminium, copolyester, silicon, glass, shape-memory alloy, custom PCBs, LEDs, thin gauge electrical wire, 2000 x 740 x 400 cm

This artwork was AMAZING!!!! no other word to describe it! to be able to touch and interact with this artwork made the whole day. It felt like we were under the sea playing with jelly fish! I loved it!

We headed to the MCA after that which also had some great artworks as a part of the Biennale. I highly recommend you all to go and see it! We had a great day!


Thursday, July 19, 2012

Cabinet Restoration

During the Easter break Toby and I picked up this Cabinet from one of my favourite shops "The things i Love" (she just got facebook like her page, Sandra updates pictures of new stock) for a steal of $80. This is what it looked like when we got it.... in pretty good condition


I liked the idea of painting it and after alot of thought we went for a pale blue colour. We had to sand it back, undercoat it (we used spray paint to undercoat that was fun). And then give it a few coats of paint. I ordered the handles from Anthropologie (they nearly cost as much as the cabinet with postage but i think they finish it nicely) 


What do you think? 

Wedding Wednesday

Yes its Thursday but yesterday (Wednesday) I went out and paid a deposit for our wedding venue! so its all really happening now here's a picture that I took from the car (yes i did pull over)


It's at a hall out in the Vineyards! We've set a date, the 29th June, 2013 so less than a year now! (It feels like its 100 years away though) Now I need to start booking all the other stuff.... photographer, celebrant... and I dunno what ever else you need for a wedding haha! I'm welcome to suggestions please. Dress shopping with all my bridesmaids and mum Saturday too!

Thursday, July 12, 2012

Blair's Birthday Cake


I mentioned back here that June is crazy busy for Birthdays it ends with Little Blair's birthday on the 30th. This year she turned 2. She had a lovely party at her house with lots of deliscious food, a jumping castle and heaps of little kiddies! My contribution to her party was her birthday cake, some cupcakes and cake pops (her favourite). I was inspired by my engagement cake made by my dear friend casey you can see it here. But i didnt want it to be exactly the same soI decided to do different shades of pink. I found a recipe on "Call me cupcake" and followed it (except for the icing). I made two batches, so 8 layers in total.
And here's the gorgeous birthday girl


Vanilla cakefour 20 cm layers

•1/2 cup (113 grams) butter
•2 cups white sugar
•3 1/2 cups flour
•1 teaspoon salt
•3 teaspoons baking powder
•1 1/2 cups ice water
•1 teaspoon vanilla
•4 egg whites beaten stiff


Add sugar to the butter and beat until light. Sift dry ingredients and add alternately with ice water and flavourings, beating thoroughly after each addition. Fold in the beaten egg whites. Pour into greased layer pans and bake at 175 degrees C for about 30 minutes. (it was a bit less for me) I weighed out each layer and they were approx 340grams


Wednesday, July 4, 2012

Wedding Wednesday

Today I want to share a wedding that was recently featured on Etsy . It is the wedding of a Melbourne couple Emily and Louis. I wrote about Emily's gorgeous necklaces a few weeks ago here. Emiy made herself and her bridesmaid one of her beautiful necklaces which all matched each girls different dress.


Isn't Emily' dress unique! I like that it is not traditional at all!

Emily had her friends help her create the decorations by hosting a working be (bridesmaids be prepared for this ;), they made all sorts of wonderful things including this paper chandelier that i'm INLOVE with! 


head over to Etsy for more details on the wedding or go to Emily's blog! its such a nice, creative wedding!

Strawberry, Apple and Vanilla Jam

It's school holidays yay! and I've had a list (mentally) for ages of what I wanted to do over these holidays (actually last holidays but they were filled with fixing the floors so all my plans went out the window) so Today I crossed one off the list and that was to make Jam. My friend Kirra made this Jam last year and said it was easy and I should give it a go. It was in Frankie magazine september last year. 


this is what you will need

Ingredients
500g strawberries
200g peeled and grated green apples (final weight not whole apple weight)
2 lemons juiced, seeds saved separately 
500g caster sugar
1 vanilla pod

Equipment
a 5L stainless steel saucepan with lid
wooden spoon
sugar thermometer (i didn't use this)
several glass jars with screw on lids
small piece of muslin
length of string
clean tea towel
tongs
jam funnel (i didn't use this)

1. wash, hull and cut strawberries in half (i cut them a bit smaller than this)
2. prepare apples, peel and grate, add them to the saucepan at a low heat for 10-15 minutes to soften
3. toss in the strawberries and sugar, mix thoroughly so everything has an even coat, you just want to warm the fruit at this stage.
4.add juiced lemon to the mix and muslin bag with vanilla and lemon seeds (i didn't add the seeds as i read on mamatribe that the seeds made the jam more lemony and i didn't want that)
5. raise the temperature to a boil, this is when you use the sugar thermometer (which i didn't have) you are meant to let it get to 105 degrees, you MUST keep stirring the jam at this stage, i kept covering it for a bit then stirred for a bit etc and you can kinda tell when it turns to jam.
6. prepare your jars, there is lots of different ways to do this i used this method
7. remove the muslin bag, and fill the jars. This recipe only made 2 Jars of jam. 
8. Label and eat. I used the jam stickers from that issue of Frankie magazine. The jam is rather delicious! 

Related Posts Plugin for WordPress, Blogger...